I have found several software programs that I use to develop my models, but all my models start in Sketchup. Teaching someone to use Sketchup has already been done many times, and there is a thriving online community using the product.
There are Youtube videos: https://www.youtube.com/watch?v=UsHRGDvN4sM and if you do an online search you’ll find MANY others. There are written tutorials at http://designerhacks.com/sketchup-tutorials/ and Sketchup has online instruction at http://www.sketchup.com/learn.
Sketchup allows a user to add plugins. I have down loaded a bunch from Sketchucation, which also has forums and other resources to answer questions. If you have sketchup, or have watched the Sketchup instructional videos, you have an idea of what the screen looks like. Mine looks like this:
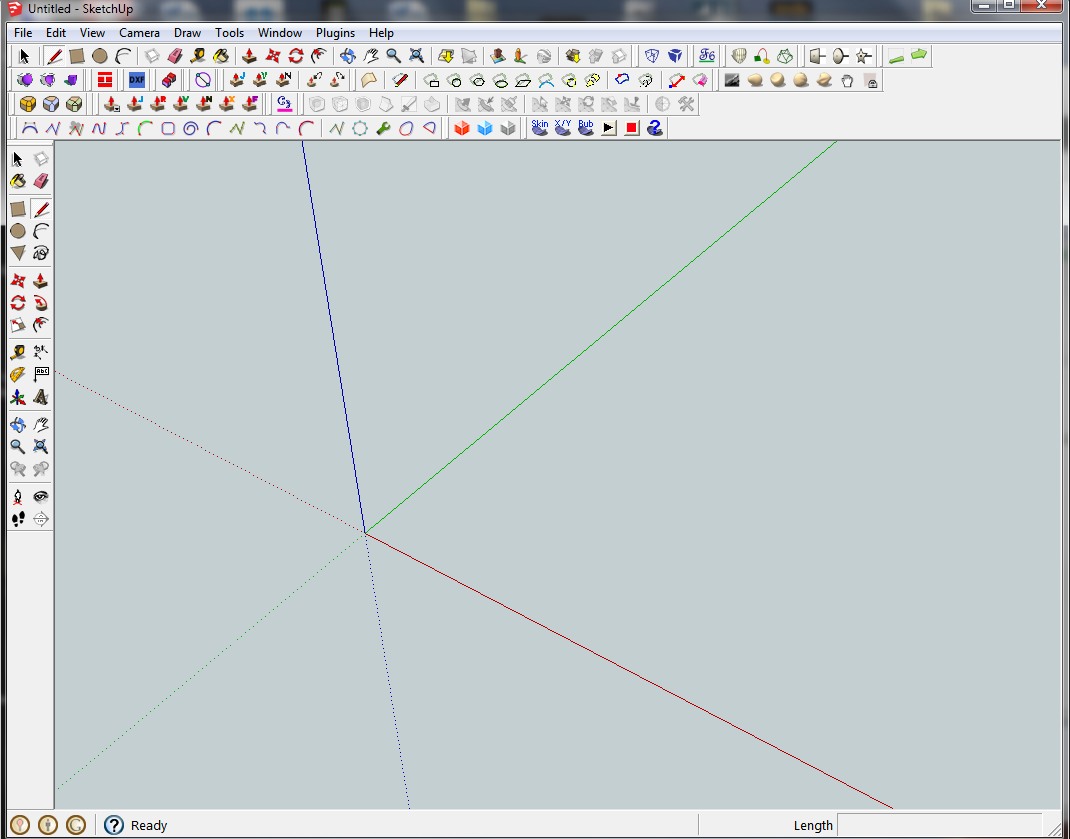
That is where the magic happens. I have a lot more buttons surrounding my screen that the stock setup, and with the exception of one tool I paid for, Nudge Tool, all were free. Many ask for donations if you use them, but that is between you and your conscience.
I still use Sketchup version 8 which came out in 2012. I haven’t upgraded because this one works, and I know how it works. It was free software, although there was a more expensive paid version. Currently there is a program called Sketchup Make, which is the free version of the more capable Sketchup Pro 2015. I have Sketchup Make on my computer, but haven’t really tried it yet.
 So, what shall we design? Currently I have a trash dumpster model, but I want a version with an open lid that trash can be sticking out of. Plus it’s an old model and I like to think I’ve gotten better in the past two years. The first step was to google images of dumpsters, which allowed me to see styles and sizes. I want to do this model in the WSF material so it can be printed in different colors and polished.
The first question is; “Is this a model that can be done successfully as a 3D print?” To answer that we need to decide what scale we want to work in. Since HO is still the most popular, let’s do this one in HO Scale. Now the question becomes, “Is this a model that can be done successfully as a 3D print in HO Scale?” What are our minimum thicknesses in HO? If you look at the chart from a post or two ago you see that in HO walls in the FUD material have to be at least 2.4 scale inches thick. Since we want to be able to offer it polished, we need to add a little more. Shapeways doesn’t say how much, but I have used 10% in the past with success. So each flat surface of the model has to be at least 2.7 scale inches thick. If you look at a dumpster you will see they are much thinner, but most of our details in HO are oversize. Also, I am considering this more of a background detail. For something right on the near edge of the layout a rivet counter might notice, but most people probably won’t. Vectorcut makes a really nice laser cut kit dumpster but it’s $14 for one. I haven’t found a brass etched dumpster, but it seems a natural. (A project for another day? Or maybe folded cardstock printed on the color laser, with a 3D printed lid? Another project?)
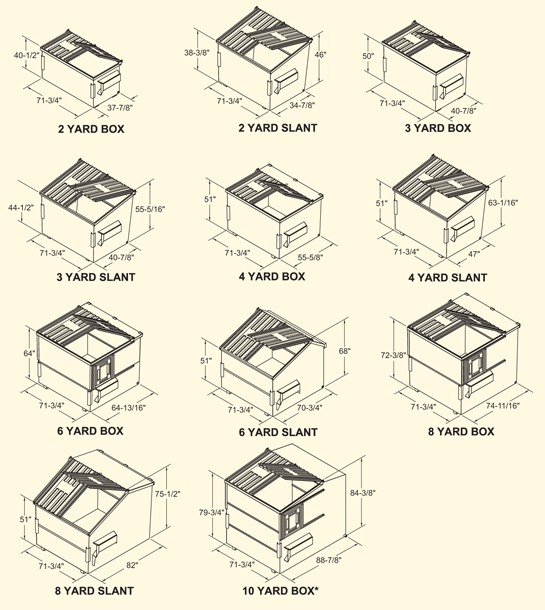
 Looking at the diagram above shows there are numerous styles and sizes. To be realistic, a model railroad would need a couple different styles and sizes. Some details just won’t be accurate. Looking to the diagram on the left the wheels will have to be thicker and we might have to fudge a little to get them printable. The pins that stick out on the sides at the top of the front will have to be about 4 scale inches in diameter which is larger than a real dumpster. If we make the pockets on the side the walls of the pocket have to be at least 2.7 scale inches thick.
There are some parts of the dumpster that will not be scale, but overall I think it will be OK. Of course the final test is when s printed and in your hand. Sometimes reality simply doesn’t meet you expectations.
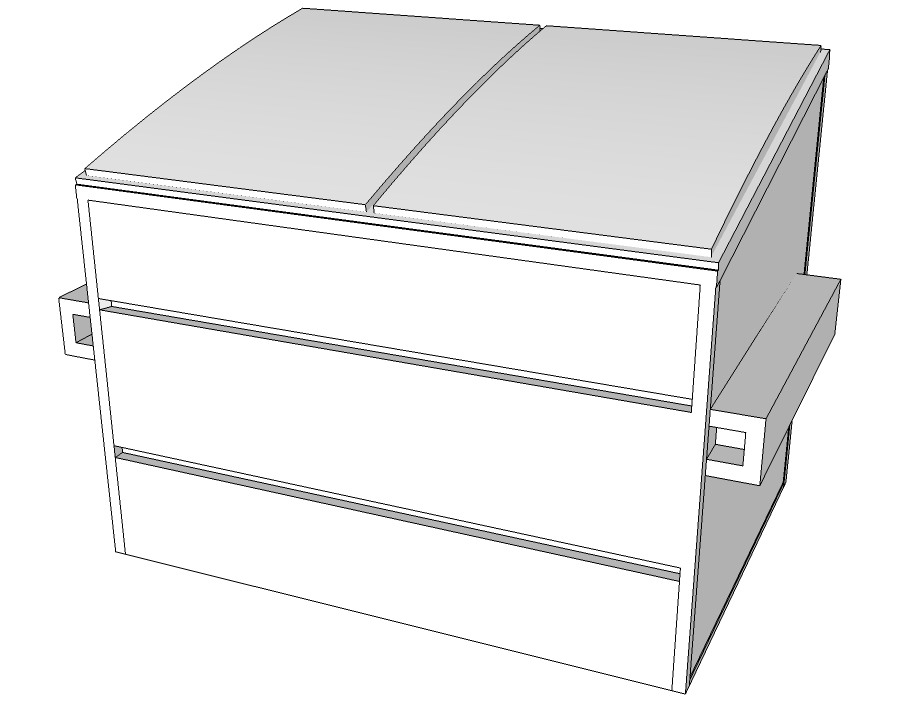 My old dumpster, shown here from a screen shot in Sketchup, had the side pockets go a short distance in and then are solid. I think it violates the design rules because the pocket walls actually are embossed details which can’t be taller than they are wide. The walls are 2 inches thick and the pocket is 4 inches deep, taller than they are wide, but I got away with it and Shapeways doesn’t re-check old models that print successfully so it should be OK in the future. Maybe we’ll try it again and see if Shapeways catches it, or just see how it looks with thicker pocket walls.
Let’s do a 2 yard dumpster first. It’s 72 inches wide, 38 inches deep, and 40 inches tall and is a box as far as it’s shape goes. That part is pretty simple.
Although I’m not going to teach Sketchup step by step, I think the only way I can really explain the mental design process I use is through actually showing what I do, and for that I have made some videos showing the screen of my computer as I design this dumpster. I will edit the videos and sometimes speed them up to keep the time to a minimum. Plus, whenever I watch a Youtube demonstration video my thoughts are that I wish the person would just show me and stop talking! This video shows how I design the basic box. The biggest concern is to make sure all the parts will print and meet the Shapeways guidelines as far as thickness of the walls.
The next video, which is sped up between 2 and 4 times, shows adding the first side pocket. In Sketchup the basic way to make objects is to draw the cross section, and then pull them into longer objects.
Next post we’ll copy the pocket to the other side and add four wheels.